Key Points
- Batch CSV uploads for migrating existing customer populations
- File integrity verification before processing
- Approval workflow with authorized reviewer
- API-based retrieval of batch results and customer data
- Supports Emirates ID (EID) based validation
Prerequisites
Before starting the Population Migration process, ensure the following:- You have a valid user account on the UAE KYC Platform with appropriate permissions.
- Your CSV file is formatted according to the required template and schema.
- You have been assigned to the correct client organization.
- An approver is available to review and approve your migration request.
- Valid
x-transaction-keyfrom the API Key Management
Step-by-Step Guide
Log in to the UAE KYC Platform. In the left-hand sidebar under the Platform section, click on “Population Migration”. This will take you to the Population Migration Requests page where all your batch requests are listed.
On this page, you can see existing batch requests along with their File Status, Approval Status, who created them, and the timestamps.
The Batch ID will initially show as “Batch Not Processed” until the file is uploaded and the batch is assigned an ID.
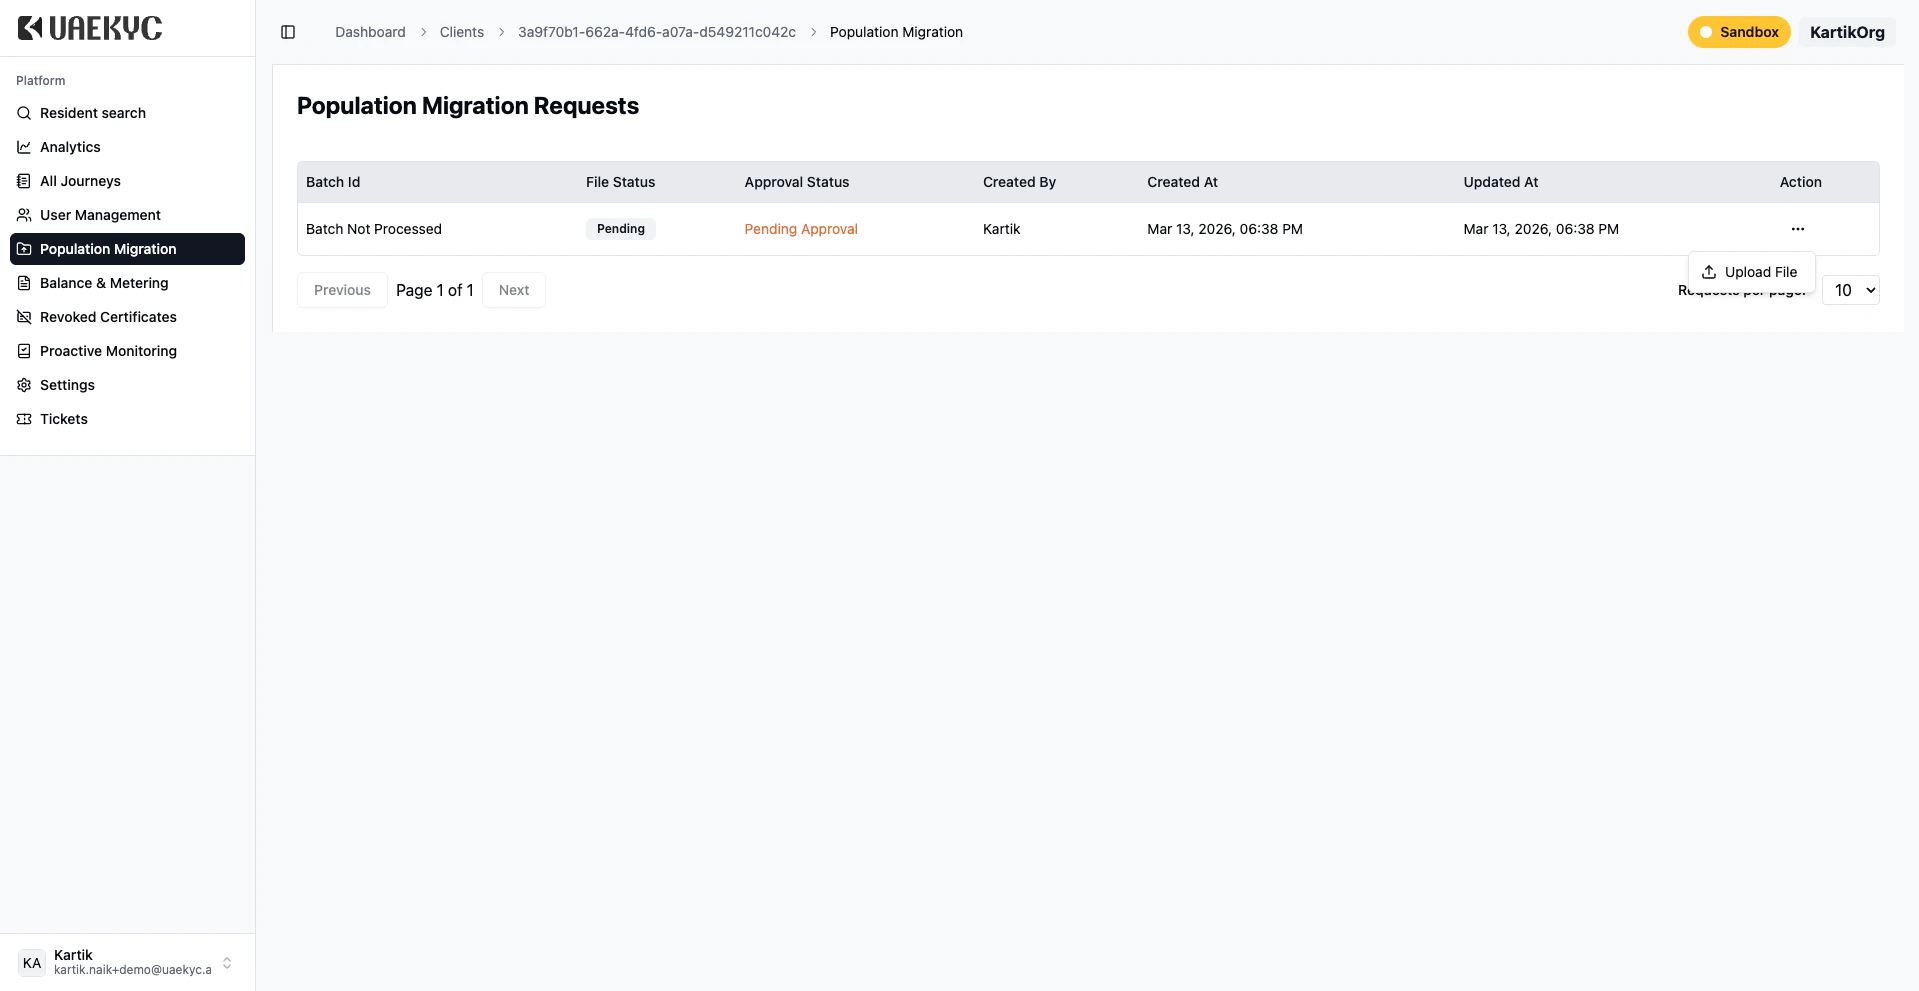
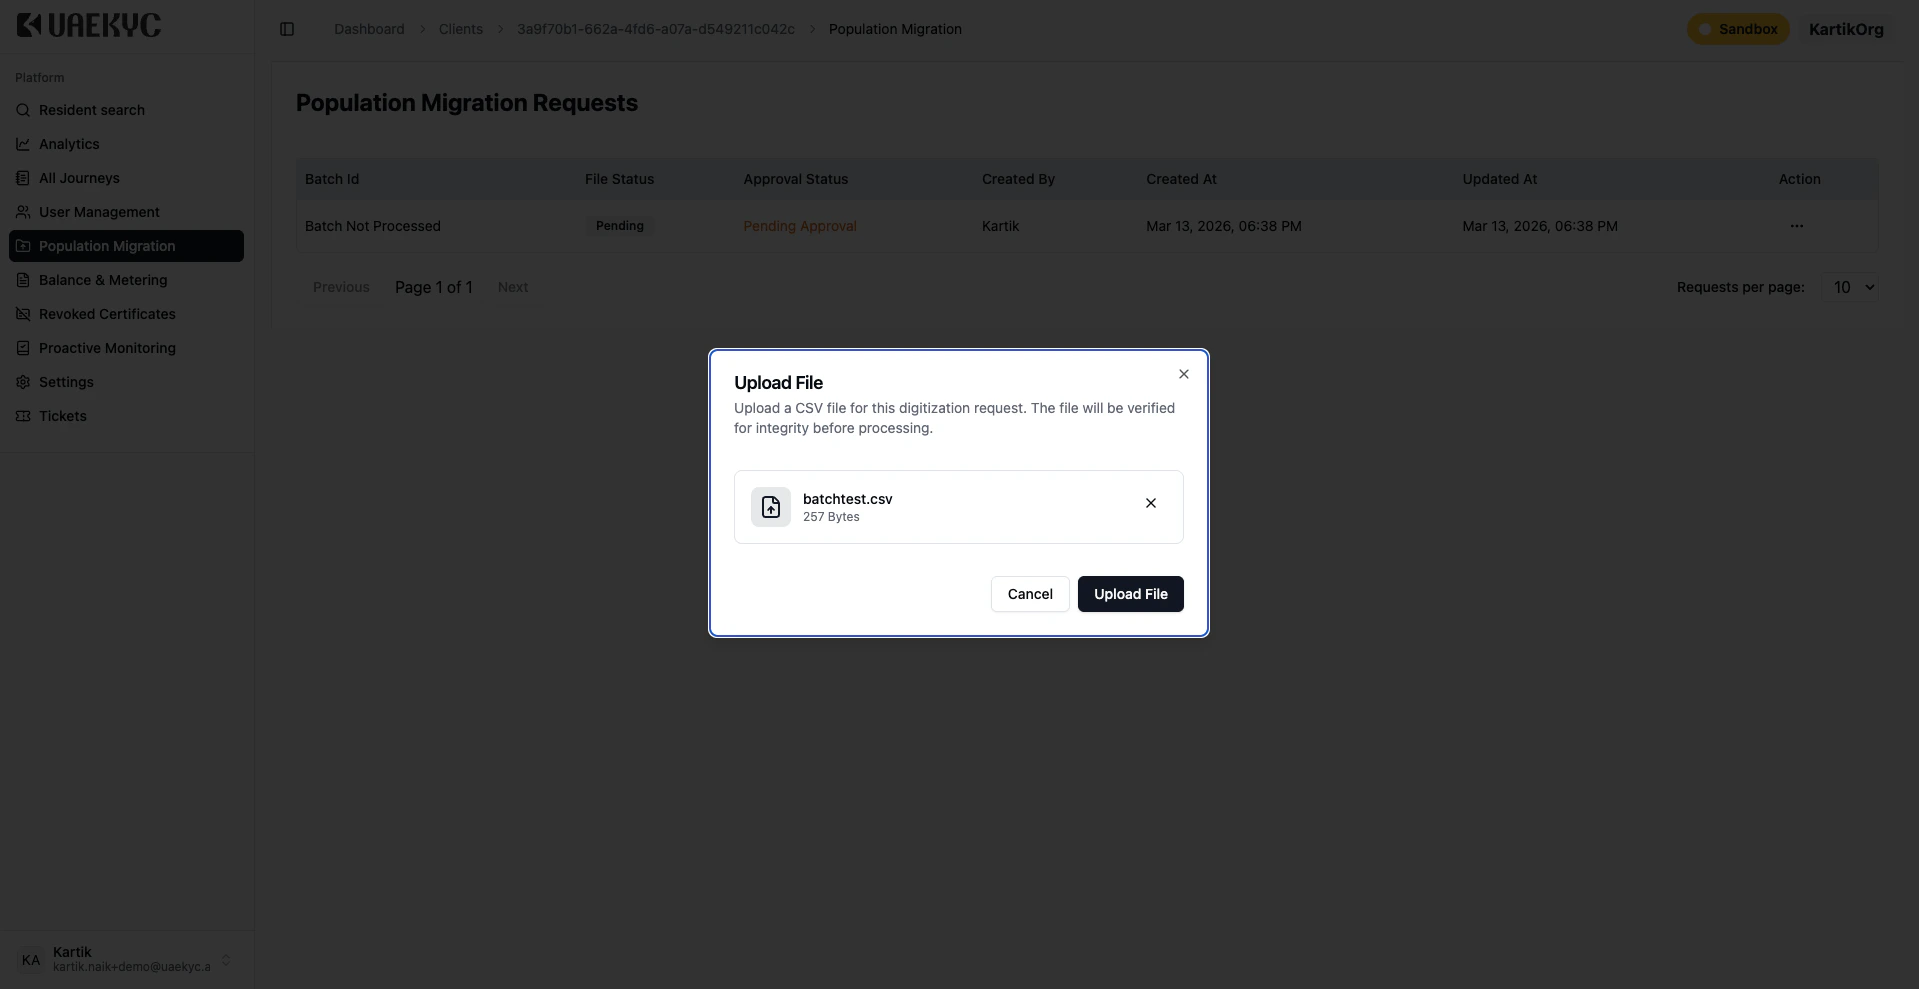
Click the “Upload File” button located at the bottom-right of the requests table. A dialog box will appear titled “Upload File” with the message: “Upload a CSV file for this digitization request. The file will be verified for integrity before processing.”
Either drag and drop your CSV file into the upload area, or click to browse and select the file from your computer. Once the file is selected, verify the file details are correct, then click the “Upload File” button to proceed.
Only CSV files are accepted. The system will verify the file for integrity before processing. Ensure your file matches the required schema to avoid validation errors.
Pending to Uploaded (green badge)Pending Approval to Approved (green check mark)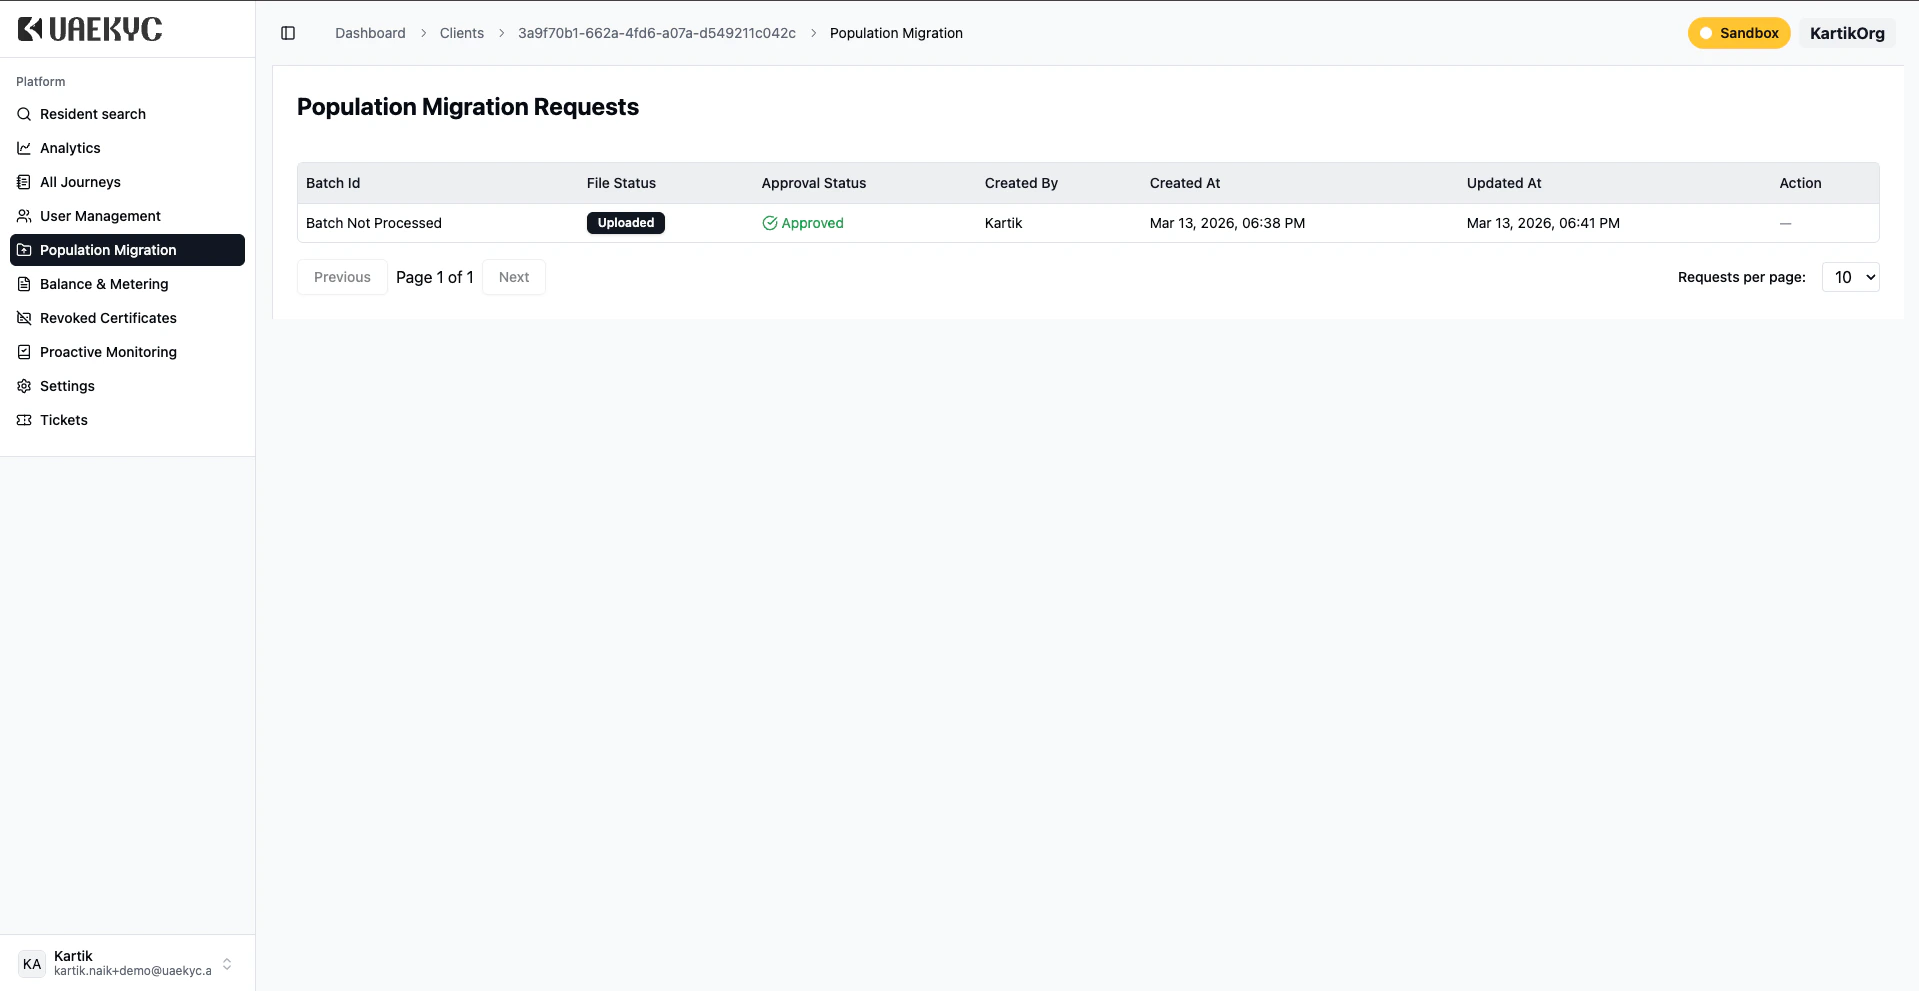
Once the batch has been approved and a Batch ID has been assigned, you can view the details by clicking the three-dot menu (…) in the Action column and selecting “View Details”.
The View Details page provides comprehensive information about the migration batch, including the number of records processed, any errors encountered, and the current processing status of individual records.

Retrieving Batch Results via API
After a batch has been successfully uploaded, approved, and processed, clients can programmatically retrieve the batch status and individual record results using the Digitization API.Authentication
All API requests require the following headers:Your API key. Get your key →
Must be
application/jsonBase URL
The base URL for the Digitization API is referenced as{base_url} throughout the endpoint documentation. Replace this with the actual base URL provided to your organization during onboarding.
The
batch_id used in all endpoints is the Batch ID assigned after approval (visible in the Population Migration Requests table, e.g., 01c78897-06dd-439d-a495-35b9d68a5ac2).Available Endpoints
Get Batch Status
GET .../batch/{BatchId}/statusCheck overall batch progress, processing counts, and whether the batch is complete.Get Batch Records
GET .../batch/{BatchId}/recordsRetrieve all records (successful and failed) with mapped field values and error details.Get Errored Records
GET .../batch/{BatchId}/erroredRetrieve only failed records with the original CSV input data for debugging and re-submission.Get Customer Data
POST .../batch/{BatchId}/getCustomerDataRetrieve detailed ICP customer data including personal info, visa, passport, residence, and digitisation reports.Recommended Integration Workflow
Poll the Get Batch Status API periodically (e.g., every 30 seconds) until the status is
COMPLETED or FAILED.Retrieve the records using the Get Batch Records API. Paginate through all pages if
total_pages > 1.For each successful record, call the Get Customer Data API with the
customer_id to retrieve the full digitized KYC profile.Use the Get Errored Records API to fetch only the failed records along with the original CSV input data. Inspect the
business_errors to identify what went wrong, correct the data, and submit the corrected records as a new batch.